How to bypass google verification on samsung on5 without computer
 Andrew Davis
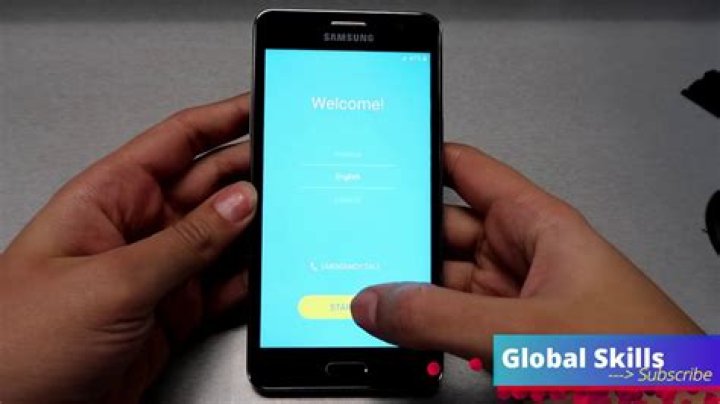
If your device has stopped at FRP’s lock screen, and you’ve lost the details for your account, then these step-by-step directions can help you bypass the Google account lock from your device.
Silky Terrier Dog Breed Playing Aro... Silky Terrier Dog Breed Playing AroundThe steps below will help you get around Google verification for the Samsung on5 without the use of a computer:
- Then, turn On the Samsung On5.
- Click Next and connect your phone to an internet connection.
- Return to the initial Welcome Screen again.
- Install a PIN/PUK-enabled SIM card.
- Restart your mobile device if necessary.
- Disable the SIM Card and simultaneously hit the power switch..
- The Notification should be swiped to the right.
- Hit”the” Bell icon.
- Turn On Bluetooth.
- Continue the procedure multiple times until the scanning is complete.
- Click on Contact US.
- Tap Next.
- Check for Update, Tap OK =>> Agree.
- Tap to update your phone in Galaxy Store.
- Wait for complete downloading.
- Click to the Search icon and enter: Google Play Services hidden.
- Log in using Samsung Account.
- The setup procedure will take some time to complete. To view, press.
- Next, click the “Google Play Services” button.
- It will bring users to the pattern/pin/password configuration screen.
- Make sure your phone is protected> > Pattern> Create a pattern and confirm it. Tap to skip.
- Now Restart your Samsung On5 (2016).
- OR
- Revert to the Homepage by repeatedly hitting the home button.
- Start by setting up the first steps.
- Create the Pattern lock you created earlier.
- When you arrive at the Google Account Login Screen, select Skip.
- Simply said, that’s all there is.
These are the most important steps you need to take to avoid Google authentication to use Samsung on5 without the need for a computer.
If you wish to remove this feature of Your Samsung On5 (2016) then you must delete your Gmail Account from the device Settings. To properly disable Factory Reset Protection, follow the instructions outlined in the following section. Factory Reset Protection successfully: navigate into the Settings menu>> Accounts>choose the Gmail ID, then delete account => then you’re done.