How To Change Battery In Garage Door Opener
 Caleb Butler
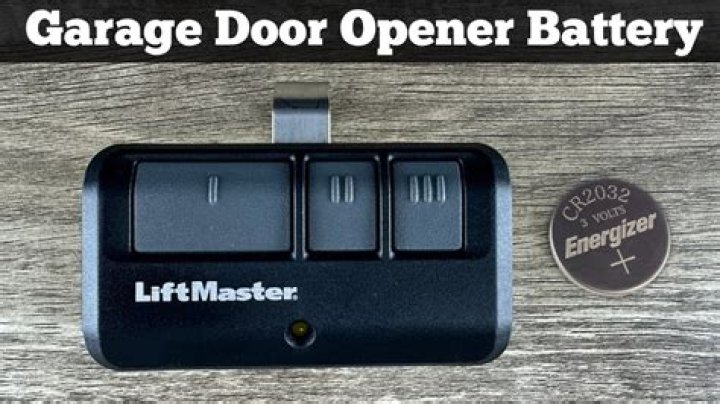
The battery in a garage door opener battery will usually need to be replaced every one to two years. Also, replacing it will require about seven steps.
Silky Terrier Dog Breed Playing Aro... Silky Terrier Dog Breed Playing AroundAll you’ll need is some gloves, safety eyewear, and a screwdriver. Always remember to wear gloves and safety goggles when working on your garage door opener.
Unplug your garage door opener.
Open the light lens. The battery is located underneath.
Take off the cover from the battery compartment by using a screwdriver.
Pull the battery out and disconnect both the red and black wires from the battery.
Connect the red and also the black wires directly to the new battery, making sure the red wire is connected to the red terminal, and the black wire is connected to the black terminal.
Insert the battery directly into the compartment and be sure to secure the battery compartment cover by using a screwdriver.
Ensure that the battery wires are not sticking out of the compartment.
Plug in your garage door opener.
Charging and Testing The Battery
Following the installation of the new battery, the LED indication should begin to flash green. This indicates that the battery is recharging. It should take about 24 hours for the new battery to fully charge. As soon as it is completed, the LED indication will become solid green.
Disconnect the garage door opener from the power source and try to open your garage door with the door control or remote control to ensure that the battery is functioning properly.
At this time, the LED indicator will either be solid orange, indicating that the door is operating on battery power or a flickering orange, indicating that the battery is nearing its end of life. When you’re finished with the battery installation process, reconnect the garage door opener to complete it.