How to change battery samsung galaxy s7
 Rachel Davis
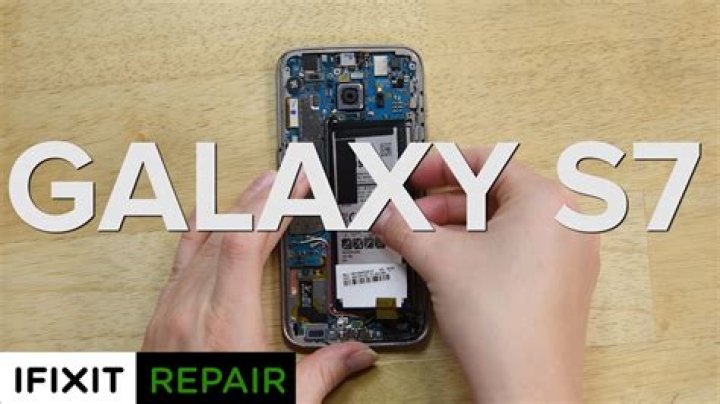
Step 1: Replace the rear Glass
Silky Terrier Dog Breed Playing Aro... Silky Terrier Dog Breed Playing AroundPlace a heated iOpener on the long edge that is on your phone. This should take approximately two minutes.
Step 2:
If the back panel feels hot to touch, use a suction cup near to the edge that is heated that the handset is as you are able but avoid the edge that curves. Then, lift the suction cup and place an opening piece of the glass in the back.
Step 3:
Once you have the piece securely placed into the glass warm it up and apply the iOpener to loosen the glue.
Step 4:
The opening pick should slide down to the side of the device, and then separate the adhesive. Keep the pick in position and pick up a second pick before moving on through the steps. By removing the pick, you can aid in preventing the glue that you removed from adhering again.
Step 5:
Repeat the heating and cutting process to the other three edges of your phone. Make sure you leave an opening on every edge before moving with the next one to stop the adhesive from coming back.
Step 6:
Lift the glass up and take it off the phone.
Step 7:
If you’re cleaning your midframe with alcohol such as isopropyl, ensure that you don’t get any alcohol onto the charging wire. The coating on the coil will degrade when it is in contact with alcohol.
Step 8: Loudspeaker Assembly
Get rid of the twelve 3.5 millimeter Phillips screws.
Step 9:
Inject the spudger’s tip into the notch that is small located on the left side of the antenna, and pull the assembly upwards and away from the frame. Take the antenna off.
Step 10:
Make use of the flat end of a spudger in order to lift the charging coil assembly from the phone.
Step 11:
Use the flat side of a spudger, to pull away from the speaker assembly.
Step 12:
Use the flat edge of a spudger for disconnecting this connector to the battery.
Step 13:
Apply a high-concentration (>90 percent) isopropyl alcohol on every part of the battery, and allow it to soak for a few minutes to reduce the strength of the adhesive. Alternately, make the iOpener and apply it directly to the battery.
Step 14:
Make use of an opening tool to lift the battery from its bottom.
Step 15:
Open an opening and slide it over the sides of the battery and tear off any adhesive. Take the battery out of the case.