How to change pinion seal on ford 9 inch
 Robert King
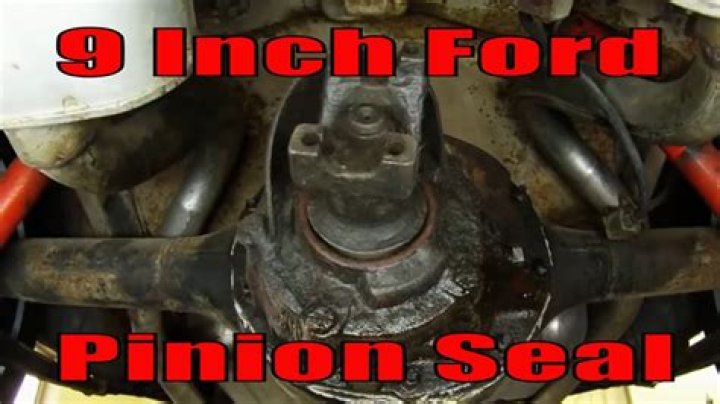
9-inch rear axles are seen in a wide range of automobiles, including Chevrolets. The Ford 9-inch rear axle is the most powerful on the market, thanks to an additional pinion bearing in the axle casing. Under strong loads imposed by the driveshaft, this keeps the pinion gear aligned with the ring gear. Even though supplanting the pinion seal in the 9-inch back hub is a difficult task, with sufficient opportunity and the right tools, you should have the option to finish it.
Silky Terrier Dog Breed Playing Aro... Silky Terrier Dog Breed Playing AroundStep 1 and step 2: On the back wheels, loosen tightens. Eliminate the back tires and fasteners.
Make sure the caps on the U-joint don’t come off.
Step 3 and step 4: Using an inch-pound needle-type force wrench and socket, fix the pinion nut. To turn the pinion burden two or three times, apply clockwise force to the force wrench and record the number of inch-pounds of pressure it takes. You’ll need this value when you reinstall the nut, so write it down.
fifth step: Using a huge line wrench to hold the pinion burden steady while turning the pinion nut counterclockwise with a breaker bar and socket, eliminate the pinion nut (and washer if it has one). It’s worth noting that removing the nut will take a lot of force. It has a torque of 225 ft.-lbs.
Step 6: If any gear oil seeps out after the pinion yoke is removed, place a drain pan beneath the rear axle. Remove the pinion yoke as best you can.
Step 7 Using a seal removal tool or a tiny pry bar, pry away the old pinion seal.
Step 8 Using a shop rag, wipe the area surrounding the pinion seal on the axle housing. Apply a small application of oil to the replacement gear oil seal’s interior rubber component. Apply a little application of gear oil to the new pinion seal’s exterior.
Step 9 Tap the new pinion seal into position against the axle housing with a haler and seal-installing tool or a big socket the same size as the new seal’s outside diameter. Ascertain that the new seal is fully seated against the axle housing.
Step 10
Install the nut and washer (if it came with one). with a torque wrench while holding the yoke with a pipe wrench once the pinion yoke is firmly seated on the shaft.
11th step
Take note of how much force is required to turn the nut. The pressure will be lower than you anticipated at this time. Return to the torque wrench and increase the torque to 205 ft.-lbs by adding 5 ft.-lbs to the torque. By switching back and forth, the torque is increased by 5 ft.-lbs. Until the pinion nut is turned with the same inch-pound force as before.
12th Step
Replace the U-bolts, washers, and nuts as needed. Tighten the nuts and bolts.