How to install bathroom partitions
 Emily Cortez
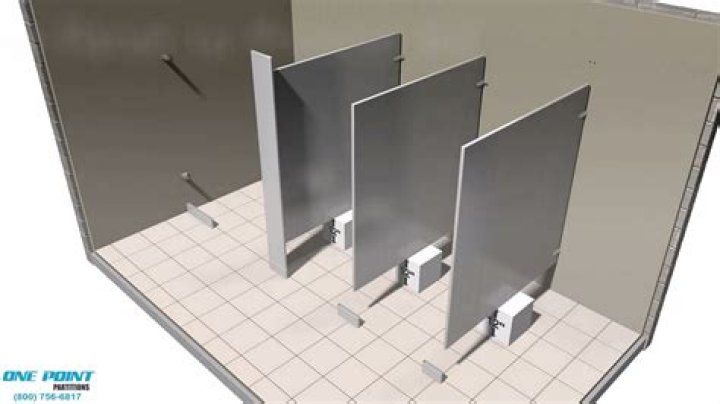
Bathroom partitions are also known as toilet partitions. Toilet partitions, also known as toilet partitions, are used in public restrooms to provide privacy between the stalls.
Silky Terrier Dog Breed Playing Aro... Silky Terrier Dog Breed Playing AroundInstructions for Installing a Bathroom Partition:-
Before you start, ensure that the area in which you are installing the toilet partitions is free from debris. Refer to the instructions provided with each bathroom partition part. Each partition might have different instructions depending on the type of partition. Finally, confirm that the bathroom partition can be supported by floors and walls.
Wall and floor brackets:
- Layout the wall brackets and floor plates. Mark the centers of panels to mark brackets for walls. It can be easily erased and removed with something.
- Install pilaster floor fasteners from the sidewall, following instructions provided with the bathroom partition parts.
- Mark the holes for wall brackets
- Next, drill holes for wall brackets or floor fastenings.
- Next, insert the expansion shields. Place the shoe clips and “L” brackets over the expansion shield. Secure with screws. It will be possible to adjust the lateral pilaster later by loosely securing it.
Positioning the Panel:
- Place the panel about 12 inches above the ground on a support.
- Place it in the brackets on the wall, but don’t fasten it.
How to prepare the pilasters:
- Place the U brackets on the rear of the pilasters. The instructions drawings and/or parts of the toilet partition will help you determine the placement.
- Secure the U-brackets on pilasters using sheet metal screws.
Installation of the Pilasters:
- Check the shoe made of stainless steel for bowing. You can compress the center and edges of the shoe if it is too large. This will prevent the shoe from bowing at the pilaster faces. You can secure the shoe with painter’s tape.
- Placing the pilaster between “L” brackets, secure it with screws at the drilled locations on each side.
Secure Pilasters and Panels:
- Each pilaster should be plumbed and attached to the panel with the “U” brackets or sheet metal screws.
- The door openings will be established by setting the pilaster mounting.
- Adjust the self-tapping screw until it is in “L” brackets
- Slide the shoe to the floor and engage the shoe clips.
- Take out the panel support device.
Next, hang the door, prepare the compartments for hanging, attach the brackets for the headrail, and finally place the headrail. This procedure will vary depending on what materials you use and the type of toilet partition that you have. Good luck with your toilet stall partitions installation!