How To Remove RV Bathroom Vent Screen
 David Wilson
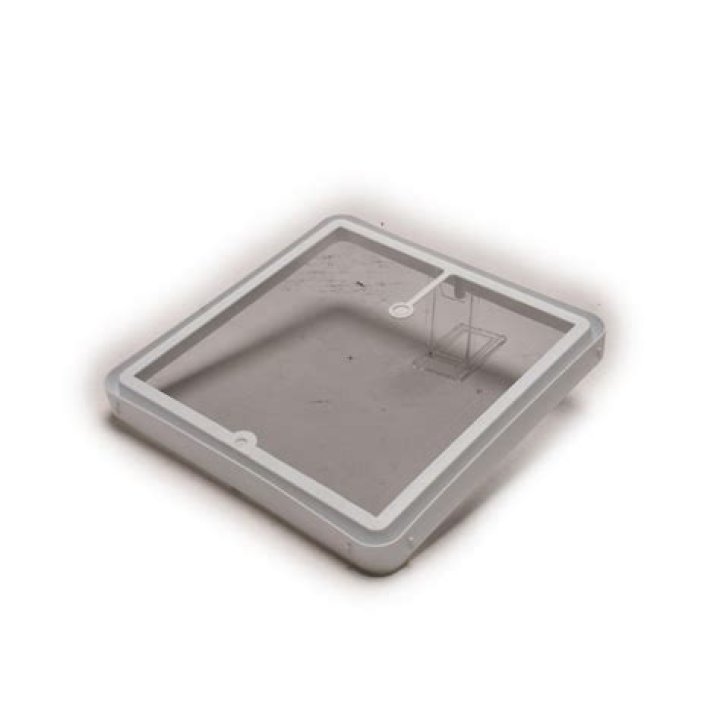
RV bathrooms are available in a myriad of sizes and shapes including large and luxurious rooms with walk-in showers as well as bathtubs to smaller closets with wet-dry which double as shower stalls as well as the toilet. A few tiny RVs, such as sleeper vehicles may not have a toilet built-in in any way!
Silky Terrier Dog Breed Playing Aro... Silky Terrier Dog Breed Playing AroundThough some custom-built conversions employ composting as well as other kinds of toilets most automobiles sold in the mass market are fitted with a gravity flush system. This is how it works.
Before you climb up to the top of your RV take a step inside and remove the screen that covers your vents. Check both the kitchen and bathroom. If you find dust and dirt, or grease coming from your kitchen’s vent, set the screens into a sink filled with water that is soapy and let them sit for a while. There’s a date on the top.
One method to ensure that there isn’t any water in the RV you own is to go up the stairs – towards the roof. You’ll need to be prepared when you conduct the regular roof examination. Vent caps that are removed with screwdrivers? Check. Caulk and a cleaning cloth? Check. Maybe you can use a special sealing tape such as EternaBond also. When you’ve got the supplies and are prepared, you can begin an inspection that is thorough of every single opening and seam on the roof.
Begin by removing coverings or vent caps of air units and take off the screws that secure them. Clear any leaves or debris that may have become lodged in the vents and then clean the vent pipes to make sure that circulation of air is as good as new. Be sure to inspect the openings and ensure that caulk isn’t missing or cracked. These are prime places for water can get into your RV, which is why it’s crucial to reapply caulk to ensure a tight seal if you have any doubt. Install cover and vent cap, and ensure that everything is secured down.
So far, so good! Take a close look at each seam to ensure you don’t notice cracks or gaps. Note the fasteners you use to ensure that they’re tightly sealed and sealed by caulk. It’s simple to see how the middle of a rainstorm could cause a leak to an RV that’s not adequately sealed. It’s time to make sure that you will not be scrubbing up a pool of water or removing carpets that are damp a couple of months from now. In older RVs, look for caulk that is separated or is separating from seams. You can then apply the EternaBond tape to make an all-new waterproof seal.