How to change a brake chamber
 Caleb Butler
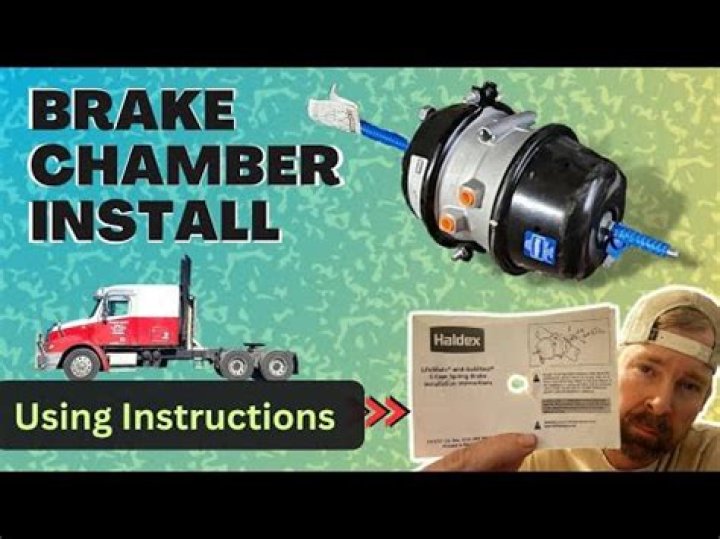
Brake chambers transform the pressure of air in the brake system to create energy that can stop massive vehicles. Like any automobile component, they can get worn out and break down, damaging the whole system. The operation of replacing can be done on your own, but it is not recommended for people who are absolutely fresh to the area. You’ll need some experience in auto repair with the proper tools and a step-by-step guide similar to the one in the following.
Silky Terrier Dog Breed Playing Aro... Silky Terrier Dog Breed Playing Around- Take the Chamber caging device (T-tool) off using an inch wrench. From there, you’ll need to remove the plug out from the chamber’s back. You’ll need to put the tool into the chamber to the extent that it can be behind the chamber that houses the brake. Turn it counterclockwise till it locks. Rep this procedure till the equipment can no longer be withdrawn. Lock the nut of the caging tool using your wrench. There will be cotter pins that have to remove from the pins of the clevis further. Then, you’ll have to get the slack adjuster out of the way. Also, remove all the airlines and the fittings by using a wrench.
- The jam nut can now be extracted out from the chamber rod utilizing a set of channel locks after unscrewing the nut on the caging instrument. Disconnect the chamber rod’s clevis as well.
- Install the chamber you just created into an eye-level table vise. Then, expand the rod in the chamber and measure it to be the same length as your previous. Mark on the rod the spot you’ll have to cut it using the soapstone. After that, trim the excess using the hacksaw.
- Reposition the vehicle under your new brake chamber. The caging tool should be set on top of the brake compartment which is why you must turn the caging tool until it is locked.
- The brake chamber should be placed with the holes in the bracket against it to allow you to tighten the nuts that hold the mounting stud. Connect the airlines to the chamber, then place the clevis pins and pins for the cotter back in their correct position.