How to change a lightbulb in a bathroom exhaust fan
 Andrew Davis
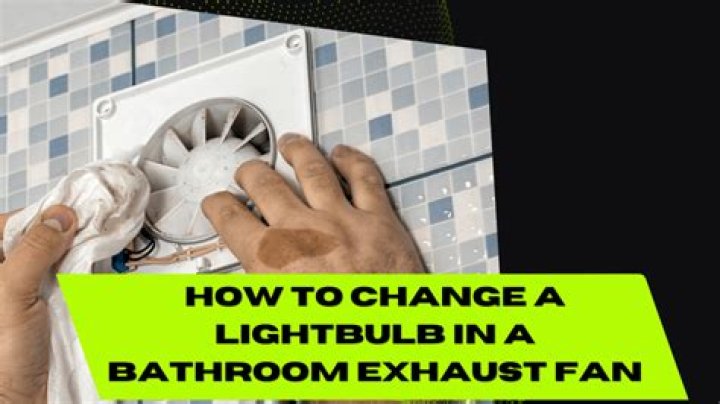
After you’ve ensured you’ve prepared the area then climb up towards the exhaust vent, and then remove the cover. There is a nut in the middle, which you have to remove with an ax.
Silky Terrier Dog Breed Playing Aro... Silky Terrier Dog Breed Playing AroundYou may also need to squeeze on the edges of the cover for the exhaust fan before pulling it back to take it off. In the event that you’ve got the initial specifications for the exhaust fan, consult them prior to beginning to ensure you’re following the correct procedure. Certain exhaust fans are equipped with screws that are attached to the edges of the fan. These could require removal.
After the cover for the exhaust fan is removed, you will be able to see how the bulb’s securing. Unscrew it, and then check the nature. Assuming that you have used the correct light bulb last time you changed it, you’re able to replace the same type of light bulb today. Review the instructions of the manufacturer to ensure that the amps of the light bulb are accurate.
Similar to any repair work in the bathroom, you must keep power and water separated from one another. Make sure you don’t allow the water to run in your sink or shower while working with the fan’s exhaust. If you are able, shut off the power at the circuit breaker controlling the exhaust fan in order to reduce the chance of electroshock. Whatever you do, make sure to you must turn off the light switch or knob that regulates the fan’s exhaust off prior to you begin.
If the exhaust fan is located above the tub or shower It is not recommended to place the stepladder or the stool into the tub. If you have to, make sure that the legs are evenly in the tub. Be sure to clean the tub prior to you take any other action.