How to change battery in razor dirt bike
 Gabriel Cooper
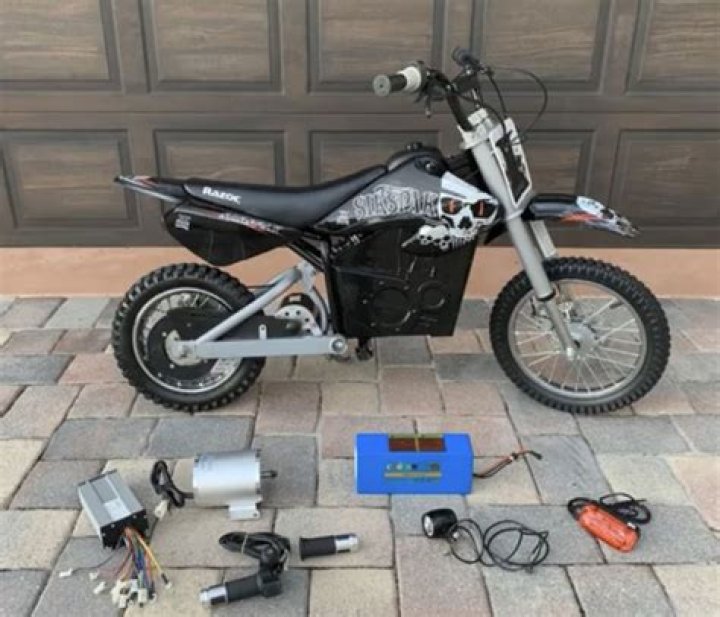
Follow these steps to remove and access the battery from your dirt bike:
Silky Terrier Dog Breed Playing Aro... Silky Terrier Dog Breed Playing AroundLearn the manual:
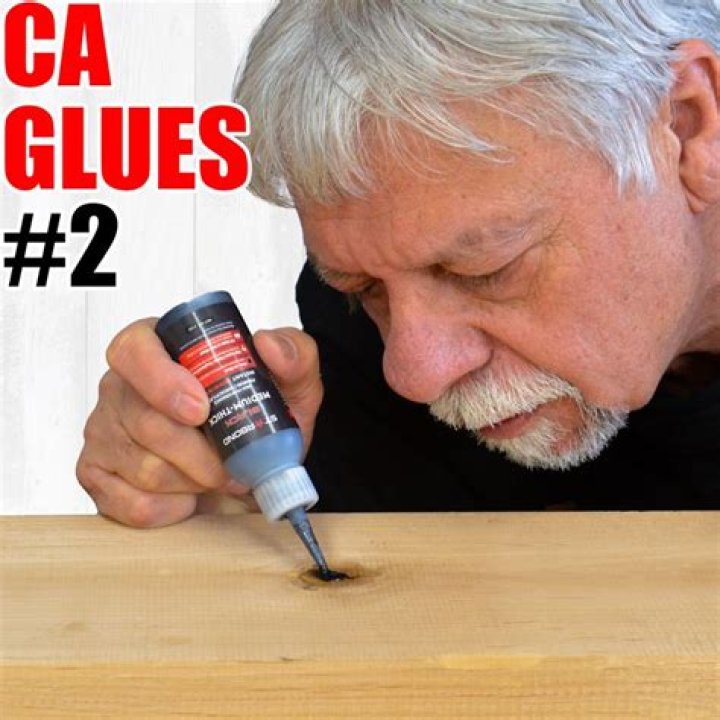
Many people believe that the manual for dirt bikes is useless however that’s not the reality. There are many instances where you’ll require reading the manual, and changing your battery is among them.
It is important to go through the instruction manual and comprehend it as it will instruct you on how to open the battery and the safety precautions you must observe.
Find your battery and then get it in:
You should park your dirt bike in a flat location and ensure you turn off your engine. It is also important to ensure that there aren’t any open flames or liquids that could ignite in the vicinity.
Be sure to wear safety equipment such as gloves, gloves and clothing that helps you avoid contact with acid. The battery compartment of many dirt bikes powered by gas is usually located under the seat.
If the battery compartment is located in a similar location, you’ll need take off the seat to gain access. The owner’s manual of your bike will aid you in determining the exact position of the battery compartment.
Unplug the negative cable:
Once you’ve gained access to the battery the first thing to do is disconnect the negative cable , which is usually black and connected to the appropriate positive (“-“) cable in the battery.
By removing your negative cable in the first place you can reduce the risk of the battery being grounded. After you’ve disconnected your negative cable take care to put the cable back away in a way that it does not come into contact with the battery’s terminal.
Unplug your positive cord:
After you’ve broken your circuit are able to remove the positive cable that typically is red and connects directly to the positive (“+”) terminal of the battery.
Remove the battery: Now that you’ve unplugged from the cable, you are able to begin to take out the battery. Take off any hold-downs that may were utilized to fix the battery, and take the battery off with care.
Be careful when removing your battery as a majority of batteries include “hollow” terminals which house the lead nuts, which are bolts that hold the battery cables typically thread into.
Install the battery that you purchased:
The first step to replace the battery is performing an extensive inspection. Be sure that the previous, as well as the brand new battery, are identical in size, and that the new one is comparable to the one that your dirt bike needs.
It is also important to inspect the battery’s terminals in order to determine the negative and positive terminals, so that you do not reverse them. If the new battery you purchase is required to be filled with acid from the battery, make sure you fill it before installing it.
If you have an item, be certain to visit the nearest dirt bike shop for a mechanic who will refill it up for you.