How to change battery in waterpik flosser
 Gabriel Cooper
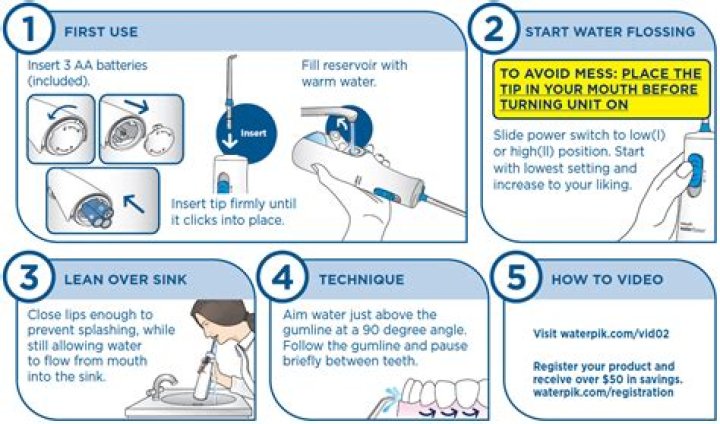
Equipment:
Silky Terrier Dog Breed Playing Aro... Silky Terrier Dog Breed Playing Around- Waterpik WP450 Water Flosser
- Charger compatible with the original
- Soldering iron is a type of electronic (about 18-25 Watts)
- Solder Silver solder that is lead-free is perfect for this
- Screwdriver with small cross-headed head e.g. Phillips no. 1
- Large flat-bladed screwdriver with a large flat blade: 5 to 8 millimeters large
- Temporary tape
- A cardboard scrap
- Double-sided tape that can be used as an alternative.
First, begin by emptying the water reservoir in your Water flosser. After that, release the clip and move the reservoir downwards away from the top of your Waterpik. Remove the nozzle/tip/jet from the top.
You can temporarily tape a piece of cardboard on the inside of the Waterpik in order to ensure it isn’t scratched. With a flat, large screwdriver that rests on the cardboard, gently pull the nozzle holder off of its body. Waterpik. Make sure it isn’t blown out across the area!
Utilizing the small crossed-head (Phillips) screwdriver, take out four screws from the front of the flosser. Lift it up and take off the cover from the back of it, lifting it out. Unhook the 2 screws that are holding the plate. Begin to remove the inside of the plate that supports the pipework.
Flip the Waterpik and ensure that your charging plug is moving out of the inside plate, and isn’t stuck on its front. Lift the plate on the inside and then move toward the left. Simply pull the piece of the flosser away, while turning it clockwise slightly to release the nozzle release mechanism.
Then continue to turn and take off the outer plate until it’s removed from Waterpik’s body. Flip the plate to view the battery and motor. Unclip the battery clamp and observe the polarity of the battery as well as its wires.
Utilizing the soldering iron, desoldering pump, or desoldering wire, first remove the black motor wire that is connected to the battery’s negative terminal. Remove the wire out of the socket for charging in which it is connected to the positive battery label.
Remove the two wires to the negative battery. The black wire in this image is actually a sleeved electronic part, likely a diode, to avoid damage in the event that the charger is connected to the reverse direction.
Take the battery that was originally in it out from its container. It was secured by weak glue. Compare the battery that came with it to the replacement.