How To Change Co2 Tank
 Caleb Butler
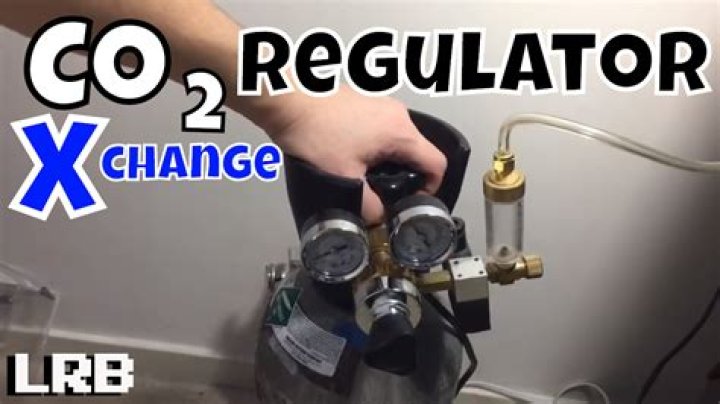
Close the valve on the CO2 tank. It is important to note that almost all CO2 tanks must be attached to the wall and BIB rack using a chain or other methods. Using a tool, loosen the nut (ex. CO2 wrench) While loosening the CO2 nut, keep the regulating body and hose (if any) in your hand. While removing the CO2 nut, be careful not to rotate the regulator or hose. Inspect the o-ring at the side of the tank fitting any signs of wear or tear.
Silky Terrier Dog Breed Playing Aro... Silky Terrier Dog Breed Playing AroundIt is possible to flip the o-ring and reuse it if a replacement is not easily accessible or if the damage is not too severe. It is necessary to remove the central brass retainer using a 5/16 hex key to flip an o-ring around. Taprite does not have a separate CO2 washer since the o-ring seal should be durable enough to withstand repeated tank replacements (providing the proper procedures are used). Although a CO2 wash (plastic or fiber) may be used in addition to the methods described above, it will not significantly improve their performance or extend their life.
You’re now ready to replenish your supplies. Almost. First and foremost, choose the size of the CO2 tank. Multiply whatever number you’re working with by two. This calculation will provide you with the length of time you will need to maintain your air compressor running at full capacity. A 12-ounce tank, for example, will need the use of an air compressor for a total of 24 seconds to be filled.
In addition, you may check the pressure gauges of your air compressor and see how much air is remaining, although this will vary depending on the kind of air compressor you’re working with. Keep in mind to tighten the bleed-off valve much as possible when you’re done.