How To Change Drill Bit On Makita Drill
 Robert King
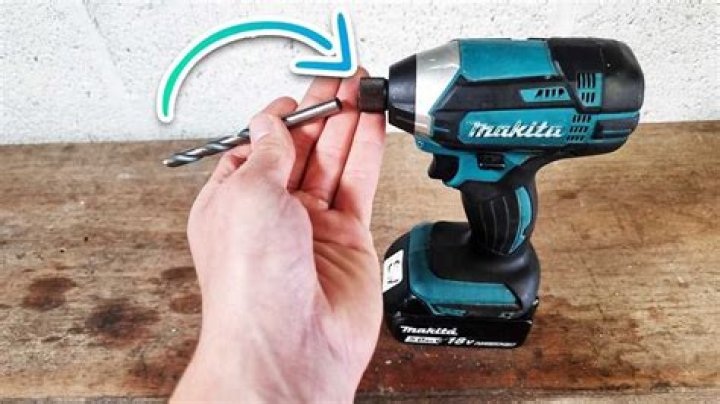
The piece into the chuck to the extent it is able to be. Keep the ring in place and then turn the sleeve counterclockwise to close the chuck. To take off the part put the ring in place and rotate the sleeve counterclockwise.
Silky Terrier Dog Breed Playing Aro... Silky Terrier Dog Breed Playing AroundRelease the Chuck. The chuck is the piece on the other end of the drill which is loose and then tightens to secure the bit. Grab the chuck using one hand while holding the grip of your drill in the other hand. Turn the chuck counterclockwise in order in order to release it. Another option is pulling the trigger slowly while still holding the chuck.
- The chuck can be opened by loosening it. jaws that clamp onto the drilling bit.
Get rid of the bit. Once you loosen the chuck, the bit you have inside the drill will begin to move. It should be possible to remove it with ease from the drill after the jaws that hold on to it are released.
Set the part. You can hold the bit using your index finger and thumb to ensure that the smooth portion of the piece (the shank) is in towards the jaws in the chuck. Place the bit in the chuck, and then return it to you approximately one centimeter.
- Be sure to keep your fingers between your chuck and bit as the bit isn’t secure and could fly out.
Press the trigger. Secure the bit in its place by using a couple of quick squeezes. Your other hand should hold the bit as you’re doing this. Involve the ratcheting device, if required. If your drill comes with a ratcheting mechanism, to add pressure to the shank of the drill bit, it’s necessary to push it into position. To activate it, you must firmly move the ratcheting mechanism close to the chuck, in an upward direction clockwise.