How to install laminate flooring around a curved fireplace?
 Ethan Hayes
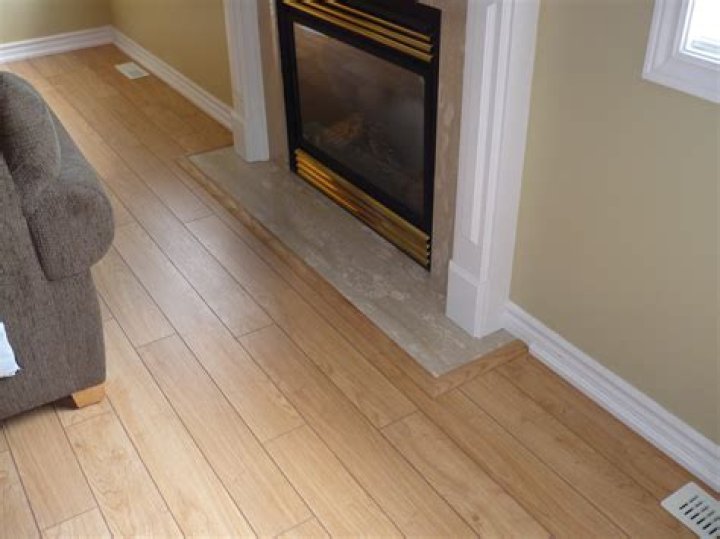
The installation of a floor is difficult when there’s a fireplace. In this instance, flooring must be designed to be a perfect fit. Follow the instruction for a successful installation.
Silky Terrier Dog Breed Playing Aro... Silky Terrier Dog Breed Playing AroundStep 1:
Nearby to a fireplace, there may be heating wires running through the floor, which stick through the subfloor and an angled hearth of the fireplace to fight. Then mark the area on the bottom of the wood where wires go and tape them over the board to indicate where you will cut.
Step 2:
Utilizing a dado blade from the table saw, cut a portion of the thickness. Another trick is to create a series of small passes. You should make sure you elevate the blade by 1/8″ for each one. Place the edges of the square of the board in the guide, and then push it using consistent pressure. In the event that the cuts are longer than the blade of your dado, you can make additional passes. The dadoed piece of wood on top of all the connections and wires. Make sure to stay clear of the wires while nailing the wood.
Step 3:
To lay the flooring around a hearth of a fireplace that is curved put a strip of cork on the outside of the brick foundation of the fireplace. It will create space, but it will allow the floor to expand and expand and contract.
Step 4:
In order to cut your boards in order to fit the brick’s arc and to make them more sturdy, increase the cork’s height and the second board is laid until it is up to the cork. Once you have the space enough to fit as closely as feasible, grab a small piece of flooring, place them against the cork, and place a marker on the outside edge. Move the board across the cork, arc, and arc. the entire board is designated to cut.
Step 5:
Cut the boards with the band saw as it is easier to cut curves. When using a bandsaw make sure to place the guide closest to the work area as you can. This will stop the blade from bending and flexing. Keep the blade moving slowly and at a steady speed.
Step 6:
The boards should be re-inserted back into position and they should match the arc exactly.