How To Plumb A Water Storage Tank
 Caleb Butler
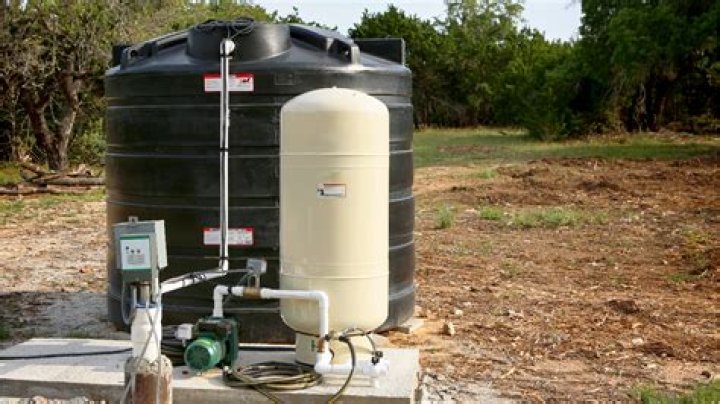
Now that you know what you’ll do with your new water tank, it should be a cinch to get it installed. Here’s a little tutorial that’ll show you how it’s done.
Assemble the tank’s foundation:
For a water tank, you have a choice of two kinds of foundations. Cement and other densely packed materials.
Concrete Base
For the vertical tank’s base. In all directions, lay a 3″ strengthened concrete surface that is perfectly level and smooth throughout all ways. Before pouring the concrete, make sure the dirt base is well compacted.
Compacted Material
If at all feasible, construct the pad at about 24″ wider than the water tank and compact the crushed stone/road base to a 3″ thickness before installing the water tank. Be cautious when creating the tank’s base to avoid using any pebbles, stones, or other foreign objects that may be harmful. Before compacting the base, make sure it is flat and straight in all directions. If it is not, it will crack. It is necessary to construct an erosion-proof retaining wall around the perimeter of the base to protect it from washout, vermin, and other hazards.
Connect the overflow drainage pipe to the drain.
Those who made the purchase of the tank. Connections to the stormwater drainage system or to a location far enough away from the tank to guarantee that its foundation is not undermined should be made after that.
3. Run your fill pipes from your roof down to the ground.
The line that runs from your tank’s lid to your roof must be installed as soon as possible. If you wish to drink the water from your tank, you will need to install water filters. In addition, make sure that the filter basket on the cover of your water tank is securely fastened to the cover.