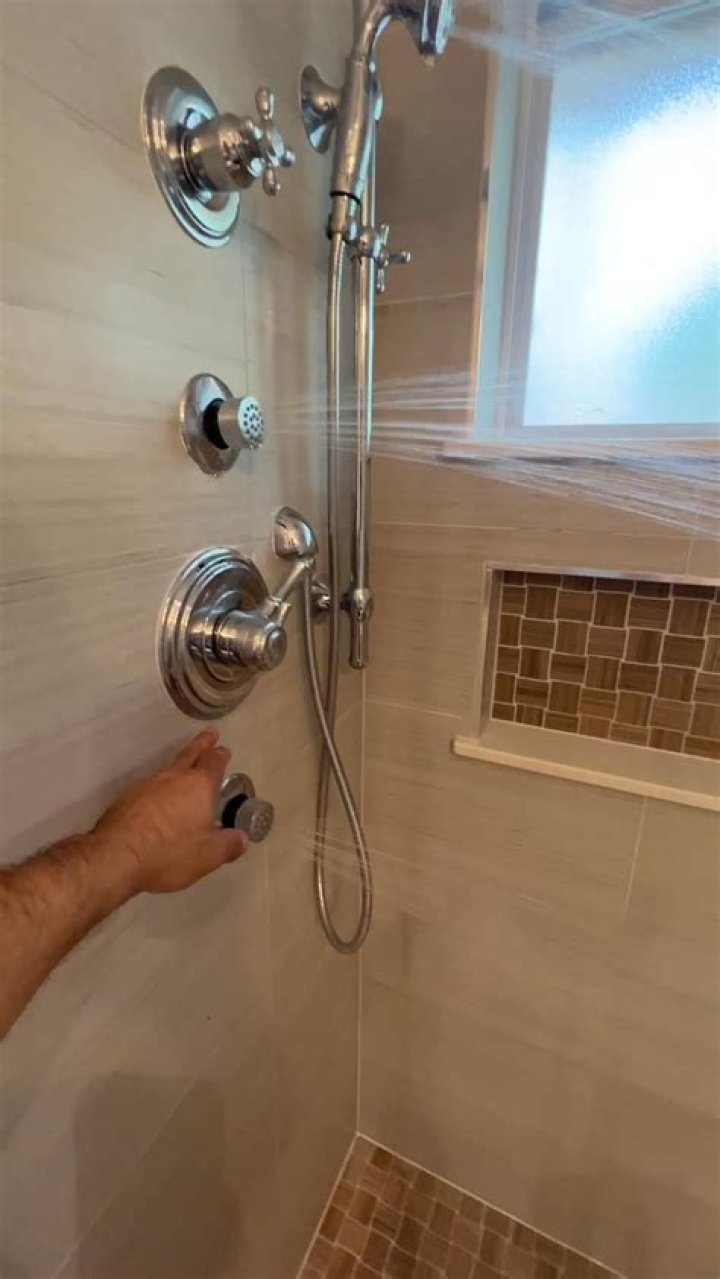
Testing a new shower valve is a simple task that is often ignored. Water leaks can cause significant damage and money if not tested prior to shutting the shower wall. Even the most skilled plumbers’ valves will need to be examined. Fortunately, testing a shower valve is a fast process.
1. Flushing the pipes prevents pipe flakes, sand, and other debris from damaging the shower cartridge surface. After installing the showerhead (and tub spout if using a combination shower/tub valve), run the cold water for 10–15 seconds. Then do the heated side. The procedure is similar to testing with air.
2. Take the shower top and install it with 12-inch threaded zinc or brass tip with a cover or plug. Seal the threads with Teflon tape. Pull the tub spout then cover and plug the connection if you installed a shower/tub combo valve. That way, when the faucet is switched on for testing, water pressure will build up. A pressure valve will reveal leaks that may not be visible when water is flowing through it.
3. After plugging the showerhead pipe, open the shower valve. Inhibiting the flow of water or air allows the valve to be inspected for leaks. Air-test leaks are loud whereas water leaks might range from a little drop to a steady stream. However, certain leaks may take quite some time to form. To avoid leaks, leave the valve underneath pressure for Fifteen min.
4. If a leak is found, turn off the water and drain the valve. It must be retested to ensure the repair was successful. When the valve is leak-free, the showerhead may be installed and the faucet is prepared to function. When closing the shower wall, always install a detachable panel for future repairs.
 David Wilson