Since the 1990s, water savers, sometimes known as ‘flow restrictors,’ have been required on all faucets sold in the United States. It is the purpose of a water saver to limit the flow of water in order to conserve water and reduce waste. It’s an admirable goal, especially in this era of environmental consciousness and determination to do more to protect the environment.
However, there are occasions when the water flow is restricted excessively, and the function of the faucet is hampered as a result.
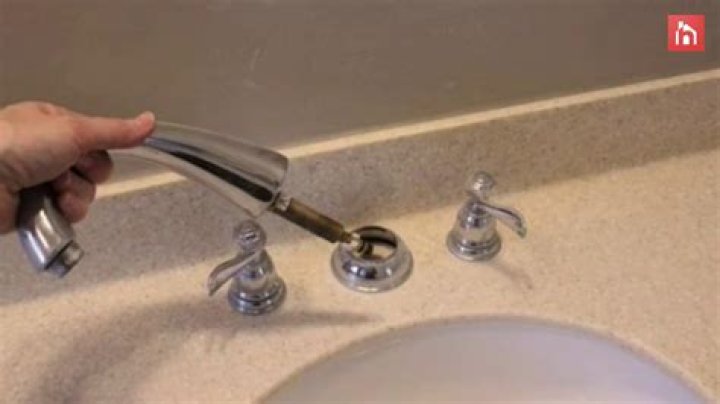
Below are the methods to remove the water saver from your bathroom faucet:
1. Plug the sink
This is the most effective method of ensuring that no small particles become loose and make their way down the drain at any point.
2. Unscrew the aerator from the tip of the faucet.
You should be able to complete this task by hand, but if the situation is really tight, you may require the assistance of a small wrench. If possible, place a cloth or rubber band between the faucet and the wrench to prevent the faucet from being scratched.
3. Identify and remove the flow restrictor
It should be located just within the aerator and should be simple to remove, either by hand or with the aid of a small screwdriver (see illustration).
4. Replace the aerator
Even though you may not wish to keep the flow restrictor in place any longer, it is critical to keep the aerator running. Aeration of the water flow allows it to scatter more effectively, and it also makes the water flow quieter, which is exactly what it is intended to do.
 John Campbell