How to replace side marker light on Lexus rx30?
 Andrew Davis
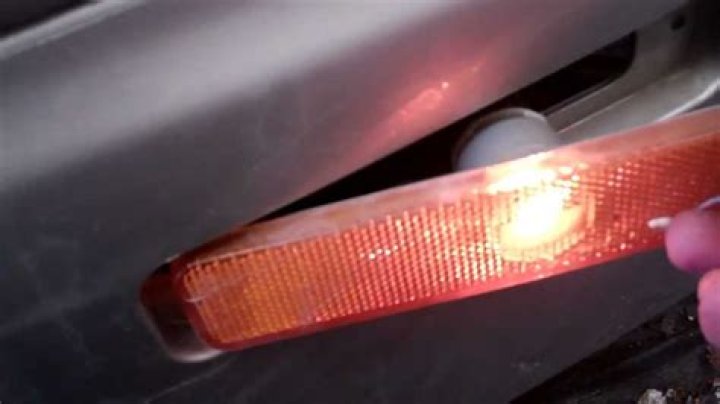
Tools you will need: First, you’ll need an extra hand to hold some lights so it’s nice to have someone standing around watching for this part. you will also need a 10mm wrench or socket, #2 Philips screw driver, flat head screw driver or pry bar (better), and possibly a pair of needle nose pliers (depending on the light fixture)…..and lastly, some dielectric grease if you choose to use it.
Nevertheless, let’s get started by gently prying out the end of the headlight assembly. There are a few plastic tabs that hold the front to the back of this piece and you can carefully use a flat head screwdriver to pop them up at their base. Be careful not to damage anything here since this is all very fragile stuff. If possible, try using a second hand where it makes sense when you can so as not to put too much stress on any one point in particular.
once these four tabs have been popped upward, go ahead and pop off this cover before getting down underneath with your 10mm wrench or socket- whichever suits your fancy…..lower the car if you have already done so and feel free to use the e-brake if you feel it makes sense for this next part.
this piece has been gently moved ahead, just disconnect the wiring harness by squeezing down on those tiny locking tabs on one side or another…..just squeeze them together with your index finger and thumb while pulling outward at the same time. (there are 3 wires total) pull these quickly since they may still have power running through them even after all this time…it’ll make more sense once you read up on the next step. Installation is just the opposite of removal procedure, so reverse these same steps and you’re good to go.
Lastly, take some dielectric grease (or not) and apply it to the metal contacts on the back of the light fixture. This will help keep everything corrosion free and functioning like new for years to come.